18.搭建服务网关Gateway
# Gateway入门
提示
下面对Spring Cloud Gateway 进行快速入门,如果已经掌握可以略过
- name: 快速访问 🚀 Spring Cloud Gateway
  desc: 是spring官方基于Spring 5.0、Spring Boot2.0和Project Reactor等技术开发的网关
  link: /pages/87366e/
  bgColor: '#DFEEE7'
  textColor: '#2A3344'
1
2
3
4
5
2
3
4
5
# 创建service-gateway项目
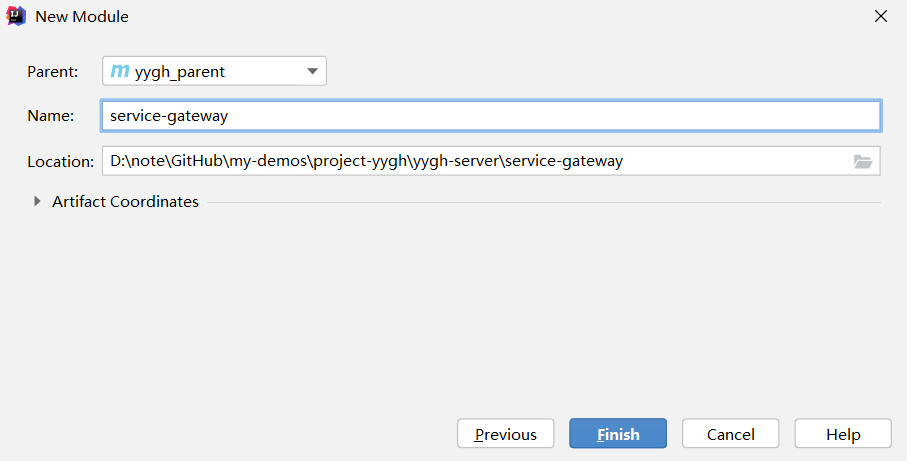
点击yygh_parent右键,New->Module... 选择 Maven->Next 如下,创建service-gatewaty项目
# 配置pom文件
修改service-gateway 配置如下
<?xml version="1.0" encoding="UTF-8"?>
<project xmlns="http://maven.apache.org/POM/4.0.0"
         xmlns:xsi="http://www.w3.org/2001/XMLSchema-instance"
         xsi:schemaLocation="http://maven.apache.org/POM/4.0.0 http://maven.apache.org/xsd/maven-4.0.0.xsd">
    <parent>
        <artifactId>yygh_parent</artifactId>
        <groupId>com.stt.yygh</groupId>
        <version>0.0.1</version>
    </parent>
    <modelVersion>4.0.0</modelVersion>

    <version>1.0</version>
    <packaging>jar</packaging>
    <name>service-gateway</name>
    <description>service-gateway</description>
    <artifactId>service-gateway</artifactId>

    <properties>
        <maven.compiler.source>8</maven.compiler.source>
        <maven.compiler.target>8</maven.compiler.target>
    </properties>

    <dependencies>
        <dependency>
            <groupId>com.stt.yygh</groupId>
            <artifactId>common-util</artifactId>
            <version>0.0.1</version>
        </dependency>

        <dependency>
            <groupId>org.springframework.cloud</groupId>
            <artifactId>spring-cloud-starter-gateway</artifactId>
        </dependency>

        <!-- 服务注册 -->
        <dependency>
            <groupId>com.alibaba.cloud</groupId>
            <artifactId>spring-cloud-starter-alibaba-nacos-discovery</artifactId>
        </dependency>
    </dependencies>
</project>
1
2
3
4
5
6
7
8
9
10
11
12
13
14
15
16
17
18
19
20
21
22
23
24
25
26
27
28
29
30
31
32
33
34
35
36
37
38
39
40
41
2
3
4
5
6
7
8
9
10
11
12
13
14
15
16
17
18
19
20
21
22
23
24
25
26
27
28
29
30
31
32
33
34
35
36
37
38
39
40
41
# 修改 application.properties文件
配置端口号 8080
配置服务名称 service-gateway
配置注册中心url
设置 service-hosp的路由
- id设置为路由的服务名称
- predicates 中设置的Path中的 一个 * 表示匹配任意一个路径,** 表示匹配任意多个路径
设置 service-cmn的路由
# 服务端口
server.port=8080
# 服务名
spring.application.name=service-gateway

# nacos服务地址
spring.cloud.nacos.discovery.server-addr=127.0.0.1:8848

#使用服务发现路由
spring.cloud.gateway.discovery.locator.enabled=true

#设置路由id
spring.cloud.gateway.routes[0].id=service-hosp
#设置路由的uri
spring.cloud.gateway.routes[0].uri=lb://service-hosp
#设置路由断言,代理servicerId为auth-service的/auth/路径
spring.cloud.gateway.routes[0].predicates=Path=/*/hosp/**

#设置路由id
spring.cloud.gateway.routes[1].id=service-cmn
#设置路由的uri
spring.cloud.gateway.routes[1].uri=lb://service-cmn
#设置路由断言,代理servicerId为auth-service的/auth/路径
spring.cloud.gateway.routes[1].predicates=Path=/*/cmn/**
1
2
3
4
5
6
7
8
9
10
11
12
13
14
15
16
17
18
19
20
21
22
23
24
2
3
4
5
6
7
8
9
10
11
12
13
14
15
16
17
18
19
20
21
22
23
24
# 创建启动类
创建相应的包以及ServiceGatewayApplication类
package com.stt.yygh;

import org.springframework.boot.SpringApplication;
import org.springframework.boot.autoconfigure.SpringBootApplication;

@SpringBootApplication
public class ServiceGatewayApplication {
    public static void main(String[] args) {
        SpringApplication.run(ServiceGatewayApplication.class, args);
    }
}
1
2
3
4
5
6
7
8
9
10
11
2
3
4
5
6
7
8
9
10
11
# 全局跨域问题
由于ip,port,以及协议的不同,会产生ajax调用的跨域问题,之前在对应服务的controller上添加了@CrossOrigin注解解决,局限性在于每个controller类都需要添加,比较繁琐,同时增加了配置的耦合
有了gateway,所有的请求通过gateway进行转发,那么只要解决了gateway中的跨域问题,那么其他服务的controller就不需要配置跨域注解,具体操作如下
在service-gateway中添加相应的包与配置类 CorsConfig
package com.stt.yygh.config;

import org.springframework.context.annotation.Bean;
import org.springframework.context.annotation.Configuration;
import org.springframework.web.cors.CorsConfiguration;
import org.springframework.web.cors.reactive.CorsWebFilter;
import org.springframework.web.cors.reactive.UrlBasedCorsConfigurationSource;
import org.springframework.web.util.pattern.PathPatternParser;

@Configuration
public class CorsConfig {
    @Bean
    public CorsWebFilter corsFilter() {
        CorsConfiguration config = new CorsConfiguration();
        config.addAllowedMethod("*"); // 允许任何方法都可以跨域访问
        config.addAllowedOrigin("*");
        config.addAllowedHeader("*");

        UrlBasedCorsConfigurationSource source = new UrlBasedCorsConfigurationSource(new PathPatternParser());
        source.registerCorsConfiguration("/**", config);

        return new CorsWebFilter(source);
    }
}
1
2
3
4
5
6
7
8
9
10
11
12
13
14
15
16
17
18
19
20
21
22
23
24
2
3
4
5
6
7
8
9
10
11
12
13
14
15
16
17
18
19
20
21
22
23
24
注意:添加配置类之后,其他所有的controller需要去除 @CrossOrigin 注解
service-hosp
- 去除
DepartmentController的 @CrossOrigin 注解 - 去除
HospitalController的 @CrossOrigin 注解 - 去除
HospitalSetController的 @CrossOrigin 注解 - 去除
ScheduleController的 @CrossOrigin 注解
service-cmn
- 去除
DictController的 @CrossOrigin 注解
# 测试
修改管理系统前端url访问地址,看各项功能是否正常
.env.development文件
# base api
VUE_APP_BASE_API = 'http://localhost:8080'
1
2
2
Last Updated: 2022/01/16, 11:29:51