roles
ansible自1.2版本引入的新特性,用于层次性、结构化地组织playbook
roles通过分别将变量、文件、任务、模板及处理器放置于单独的目录中,并可以便捷地include它们的一种机制
roles能够根据层次型结构自动装载变量文件、tasks以及handlers等,要使用roles只需要在playbook中使用include指令即可
roles一般用于基于主机构建服务的场景中,也可是用于构建守护进程等场景中
使用场景
- 在复杂场景中,使用roles,代码复用度高
- 变更指定主机或主机组,如命名不规范维护和传承成本大
- 某些功能需多个Playbook,通过includes即可实现
# roles目录结构
每个角色,以特定的层级目录结构进行组织
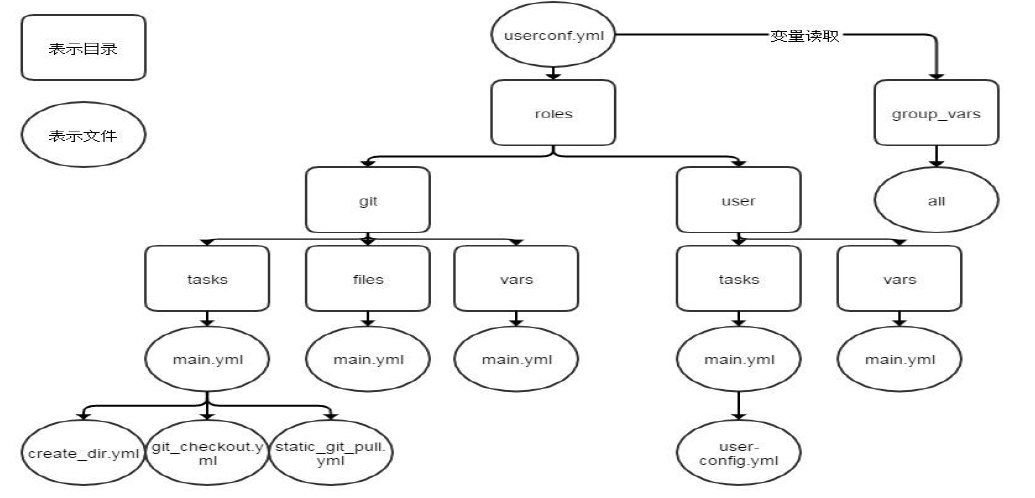
目录结构
- playbook.yml(调用角色)
- roles/ (官方推荐放在/etc/ansible/roles文件夹下)
- role_name / (角色名称)
- tasks/ (定义task,role的基本元素,至少应该包含一个名为main.yml的文件;其它的文件需要在此文件中通过include进行包含)
- files/ (存放由copy或script等模块调用的文件)
- vars/ (定义变量,至少应该包含一个名为main.yml的文件;其它的文件需要在此文件中通过include进行包含)
- templates/ (template模块会自动在此目录中寻找Jinja2模板文件)
- handlers/ (至少应该包含一个名为main.yml的文件;其它的文件需要在此文件中通过include进行包含)
- default/(设定默认变量时使用此目录中的main.yml文件)
- meta/(定义当前角色的特殊设定及其依赖关系,至少应该包含一个名为main.yml的文件,其它文件需在此文件中通过include进行包含)
- role_name / (角色名称)
# 应用实例
通过roles进行安装nginx,httpd,mysql,redis
# 创建roles目录以及文件夹
[root@linux101 opt]# mkdir roles/{ngnix,httpd,mysql,redis}/tasks -pv
...
[root@linux101 opt]# mkdir roles/httpd/{handlers,files}
[root@linux101 opt]# tree /opt/
roles/
├── httpd
│   ├── files
│   ├── handlers
│   └── tasks
├── mysql
│   └── tasks
├── nginx
│   └── tasks
└── redis
    └── tasks
2
3
4
5
6
7
8
9
10
11
12
13
14
15
# 实现nginx的role执行逻辑
安装之前先查看是否已经安装过了nginx,如果有则卸载
[root@linux101 opt]# ansible all -m shell -a 'yum -y remove nginx'
# 查看用户和用户组是否已创建,创建则需要删除
[root@linux101 opt]# ansible all -m shell -a 'getent passwd nginx'
...
[root@linux101 opt]# ansible all -m shell -a 'getent group nginx'
...
# 如果存在则删除创建的账号
[root@linux101 opt]# ansible all -m shell -a 'userdel -r nginx'
2
3
4
5
6
7
8
在/opt/roles/nginx文件夹下创建tasks和templates文件夹
[root@linux101 nginx]# pwd
/opt/roles/nginx
[root@linux101 nginx]# ll
总用量 8
drwxr-xr-x. 2 root root 4096 5月  22 11:45 tasks
drwxr-xr-x. 2 root root 4096 5月  22 11:55 templates
2
3
4
5
6
# 创建nginx用户组task
在/opt/roles/nginx/tasks下创建group.yml文件,用于创建用户组,只需要填写task的name和指令即可
[root@linux101 tasks]# cat group.yml
- name: create group
  group: name=nginx gid=80
2
3
# 创建nignx用户task
在/opt/roles/nginx/tasks下创建group.yml文件,用于创建用户,只需要填写task的name和指令即可 一般nginx的账户是系统账户,使用相同的uid以及gid,防止在不同的服务器创建user时使用不同的uid
[root@linux101 tasks]# cat user.yml
- name: create user
  user: name=nginx uid=80 group=nginx system=yes shell=/sbin/nologin
2
3
# 创建安装nginx的task
在/opt/roles/nginx/tasks下创建yum.yml文件
[root@linux101 tasks]# cat yum.yml
- name: install package
  yum: name=nginx
2
3
# 创建启动nginx的task
在/opt/roles/nginx/tasks下创建start.yml文件
[root@linux101 tasks]# cat start.yml
- name: start service
  service: name=nginx state=started enabled=yes
2
3
在/opt/roles/nginx/tasks下创建restart.yml文件,用于重启服务
[root@linux101 tasks]# cat restart.yml
- name: start service
  service: name=nginx state=restarted
2
3
# 添加nginx的templates文件
拷贝nginx.conf文件作为j2文件到templates中
[root@linux101 nginx]# mv /etc/nginx/nginx.conf /opt/roles/nginx/templates/nginx.conf.j2
修改nginx.conf.j2文件
[root@linux101 templates]# cat nginx.conf.j2
...
user nginx;
worker_processes {{ ansible_processor_vcpus+2  }};
error_log /var/log/nginx/error.log;
pid /run/nginx.pid;

# Load dynamic modules. See /usr/share/doc/nginx/README.dynamic.
include /usr/share/nginx/modules/*.conf;
...
2
3
4
5
6
7
8
9
10
# 创建调用nginx的template文件的task
在/opt/roles/nginx/tasks下创建templ.yml文件
[root@linux101 tasks]# cat templ.yml
- name: copy conf
  template: src=nginx.conf.j2 dest=/etc/nginx/nginx.conf
2
3
# 创建 task的main.yml文件
用于组织task执行的顺序,创建/opt/roles/nginx/tasks/main.yml文件
使用include 关键字进行调用,书写顺序就是执行顺序
[root@linux101 tasks]# cat main.yml
- include: group.yml
- include: user.yml
- include: yum.yml
- include: templ.yml
- include: start.yml
2
3
4
5
6
# 创建playbook执行yml文件
要求和roles文件同级目录下,创建/opt/nginx_role.yml文件
- hosts: app
  remote_user: root

  roles:
    - role: nginx
2
3
4
5
# 执行playbook
[root@linux101 opt]# ansible-playbook nginx_role.yml
再次查看目录结构
[root@linux101 opt]# tree /opt/
nginx_role.yml
roles/
├── httpd
│   ├── files
│   ├── handlers
│   └── tasks
├── mysql
│   └── tasks
├── nginx
│   ├── tasks
│   │   ├── group.yml
│   │   ├── main.yml
│   │   ├── restart.yml
│   │   ├── start.yml
│   │   ├── templ.yml
│   │   ├── user.yml
│   │   └── yum.yml
│   └── templates
│       └── nginx.conf.j2
└── redis
    └── tasks
2
3
4
5
6
7
8
9
10
11
12
13
14
15
16
17
18
19
20
21
22
# 实现httpd的role执行逻辑
先检查之前是否安装过httpd,卸载与删除已有账号
ansible all -m shell -a 'yum -y remove httpd'
# 删除对应的用户
ansible all -m user -a 'name=apache state=absent'
2
3
# 创建user的task
在httpd/tasks目录下创建user.yml
- name: create user
  user: name=apache system=yes shell=/sbin/nologin
2
# 创建install的task
在httpd/tasks目录下创建install.yml
- name: install httpd package
  yum: name=httpd
2
# 创建copy config file的task
先cp配置文件
[root@linux101 httpd]# cp /etc/httpd/conf/httpd.conf files/
在httpd/tasks目录下创建config.yml
- name: config file
  copy: src=/etc/httpd/conf/httpd.conf dest=/etc/httpd/conf/ backup=yes
  notify: restart service httpd # 在handlers的main.yml中定义
2
3
# 创建copy index的task
创建一个flies/index.html网页
<h1> welcome to stt home <\h1>
创建配置文件tasks/index.yml
- name: index.html
  copy: src=index.html dest=/var/www/html
2
# 创建start service的task
在httpd/tasks目录下创建service.yml
- name: start service
  service: name=httpd state=started enabled=yes
2
# 创建task的main.yml主控文件
创建main.yml主控文件,调用以上单独的yml文件, main.yml定义了谁先执行谁后执行的顺序
- include: user.yml
- include: install.yml
- include: config.yml
- include: index.yml
- include: service.yml
2
3
4
5
# 创建handlers的main.yml文件
创建handlers/main.yml,用于重启服务时,notify使用
- name: restart service httpd
  service: name=httpd state=restarted
2
在handlers文件夹中必须有一个main.yml文件,其他yaml文件可以通过include进行引用
# 创建playbook执行yml文件
创建httpd_role.yml
- hosts: app
  remote_user: root

  roles:       #调用角色
    - role: httpd
2
3
4
5
查看目录结构
httpd_role.yml
roles
├── httpd
    ├── files
    │   ├── httpd.conf
    │   └── index.html
    ├── handlers
    │   └── main.yml
    └── tasks
        ├── config.yml
        ├── index.yml
        ├── install.yml
        ├── main.yml
        └── service.yml
2
3
4
5
6
7
8
9
10
11
12
13
14
# 执行playbook
ansible-playbook httpd_role.yml
# 同时调用多个role执行
编写multi_role.yml文件,执行httpd和nginx安装
- hosts: app
  remote_user: root

  roles:       #调用角色
    - role: httpd
    - role: nginx
2
3
4
5
6
# 跨role调用task
如果一个role需要调用另一个role中的task,需要指定路径,如nginx的tasks/main.yml需要调用httpd的tasks/config.yml文件,
[root@linux101 tasks]# cat main.yml
- include: group.yml
- include: user.yml
- include: yum.yml
- include: templ.yml
- include: start.yml
- include: roles/httpd/tasks/config.yml
2
3
4
5
6
7
# 给role添加tag并执行
可以对不同的role设置不同的tag,然后执行,需要使用字典格式,编辑multi_role.yml
- hosts: app
  remote_user: root

  roles:       #调用角色
    - { role: httpd, tags: ['web','httpd']}
    - { role: nginx, tags: ['web','nginx']}
2
3
4
5
6
执行playbook
ansible-playbook -t web multi_role.yml
# 给role执行添加条件判断执行
只有在特定的条件下执行
- hosts: app
  remote_user: root

  roles:
    - { role: httpd, tags: ['web','httpd'], when: ansible_distribution_major_version == '7'}
    - { role: nginx, tags: ['web','nginx']}
2
3
4
5
6
# 在role中使用变量
在roles目录下创建vars文件夹,并创建main.yml文件,定义变量
username: app
groupname: app
2
可以在tasks内的yaml或者xx.j2模板文件中通过调用
示例:在playbook的main.yml文件中声明变量
- hosts: webservers
  roles:
    - common # 普通调用,没有变量,可省略 role:
    - { role: foo_app_instance, dir: '/web/htdocs/a.com', port: 8080 } # 传入变量调用
2
3
4